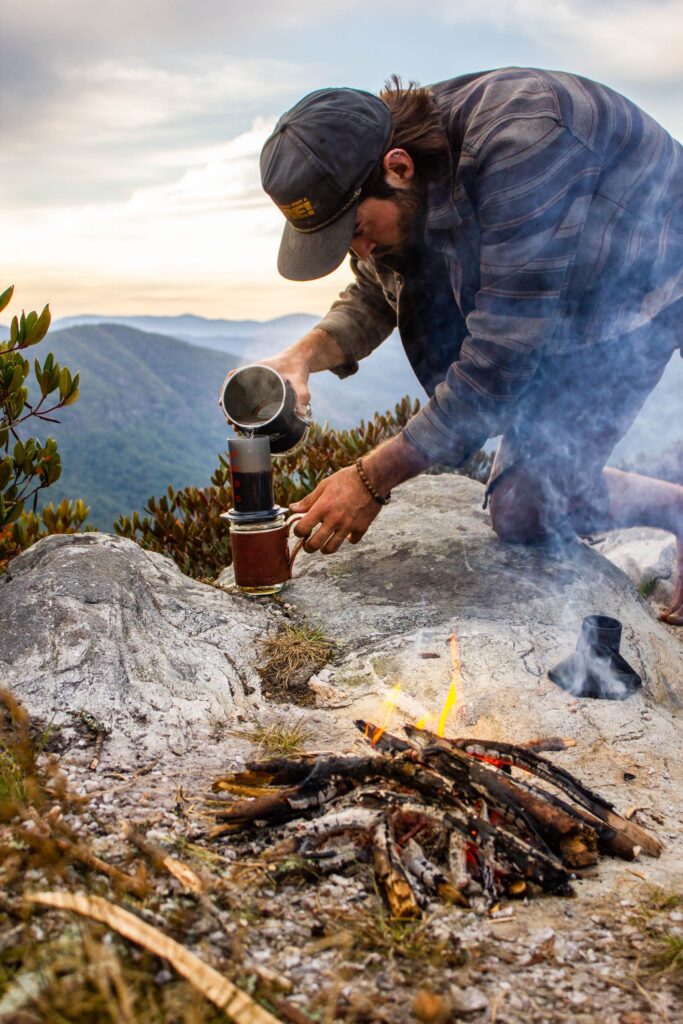
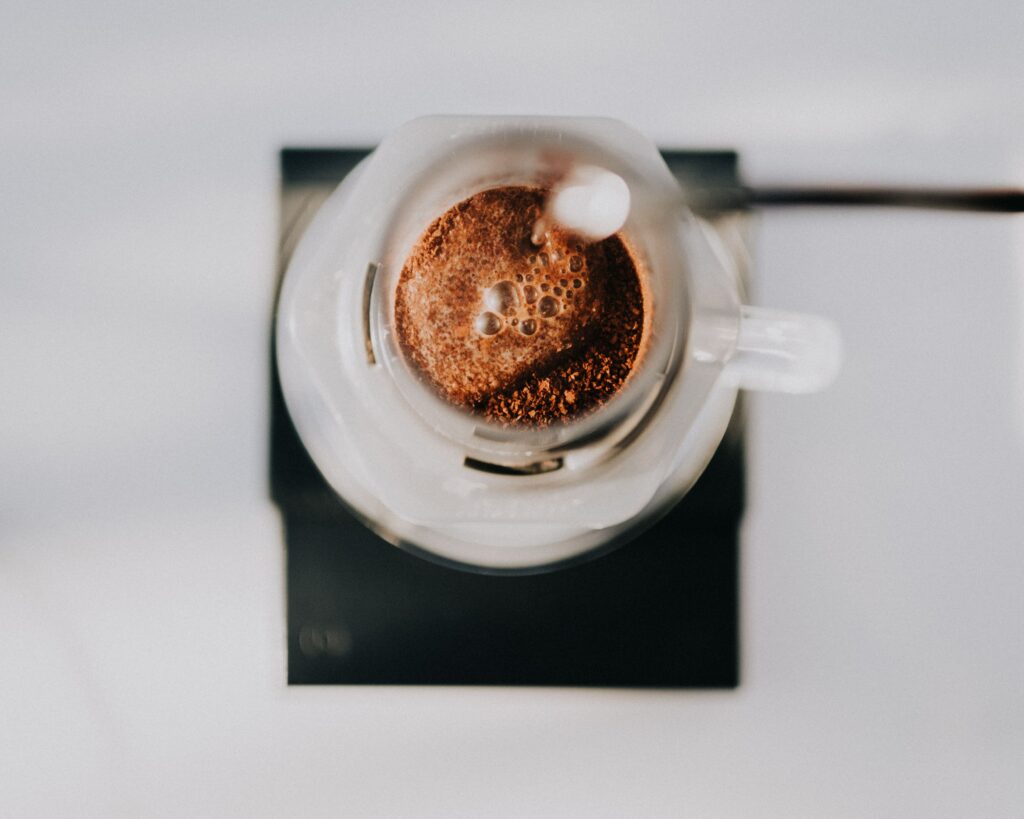
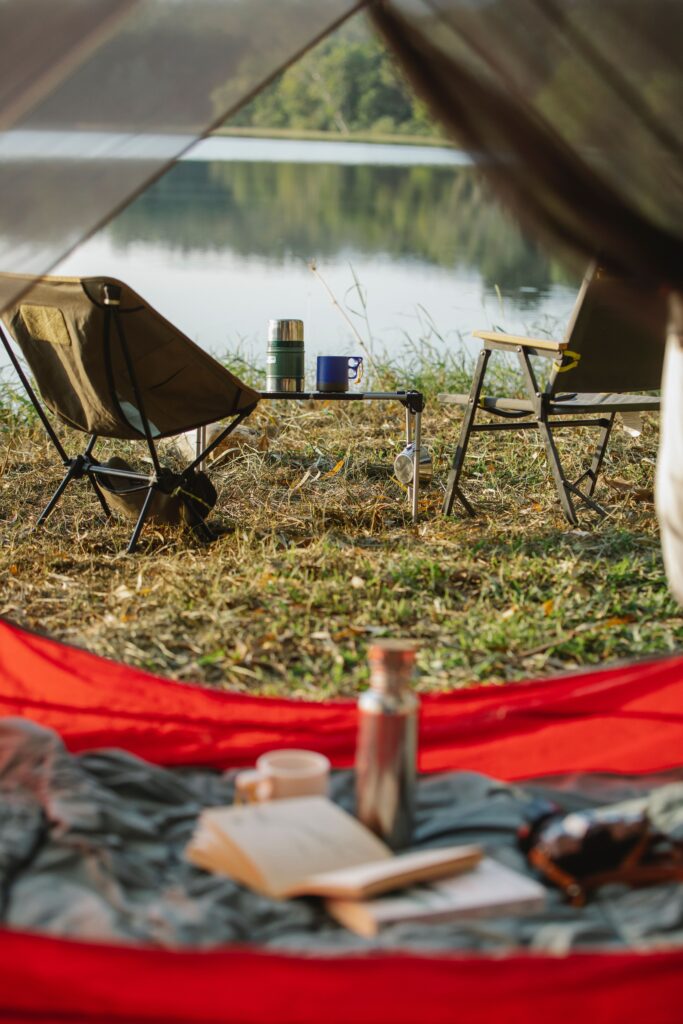
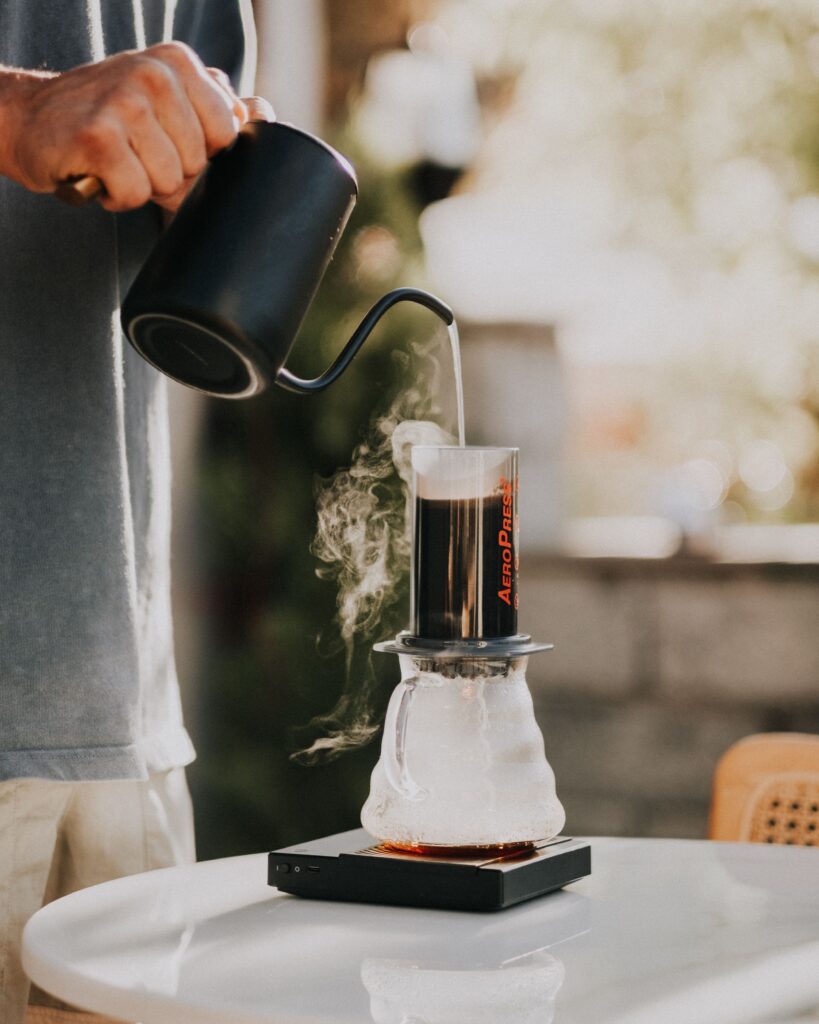
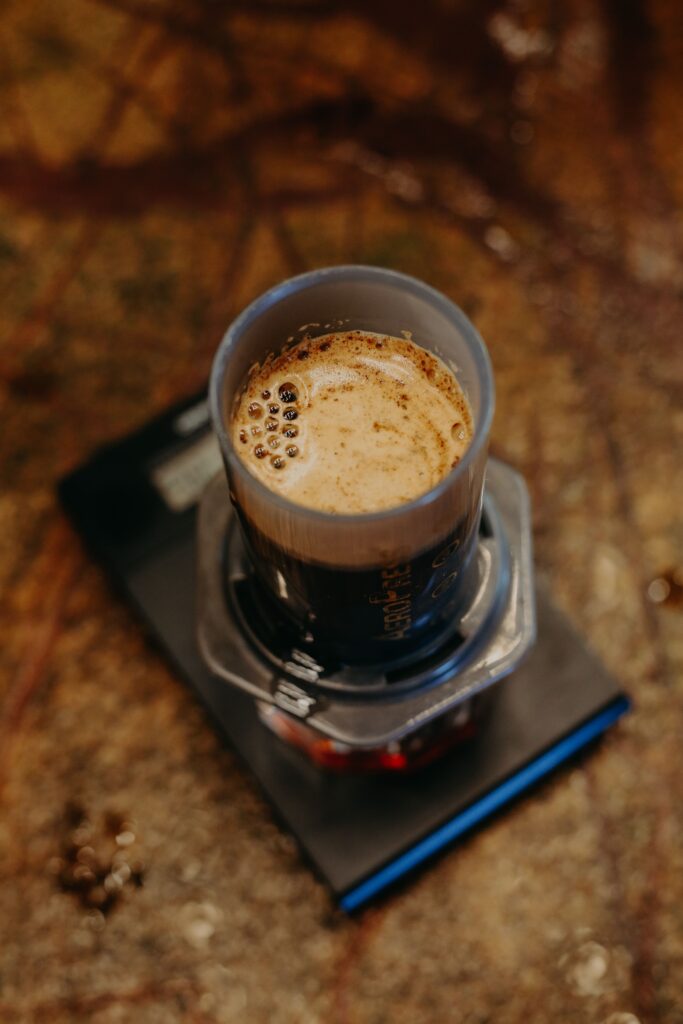
There are two types of camping coffee. The first is the emergency kind. Instant coffee in a plastic cup, boiled too hard, drunk because it is hot and caffeinated rather than because it is actually enjoyable. The second is the kind that makes you stop for a moment. Fresh air. Morning light. A quiet campsite. Hot water rolling off the stove. A proper cup of coffee in your hand before the rest of the day begins. Aeropress camping coffee!
That second kind is exactly where the AeroPress shines.
For camping, the AeroPress is one of the best coffee makers you can pack. It is light, compact, tough, quick to use, easy to clean and capable of brewing genuinely excellent coffee without needing electricity, glassware, a fancy kettle or a full kitchen setup.
Whether you are car camping, wild camping, bikepacking, motorbike touring, heading away in a campervan or brewing outside your tent before a long walk, the AeroPress gives you proper coffee without the usual camping faff.
Why Camping Coffee Usually Goes Wrong

Coffee is simple at home because everything is already there.
You have clean water, scales, a grinder, a kettle, a bin, a sink, a flat surface and probably more mugs than you need.
Camping changes everything.
You suddenly have less space, less water, less time, less stability and less patience. Your brew kit has to survive being thrown into a bag, packed into a boot, rattled around in a pannier or shoved into the side pocket of a rucksack.
That is why so many camping coffee methods become annoying.
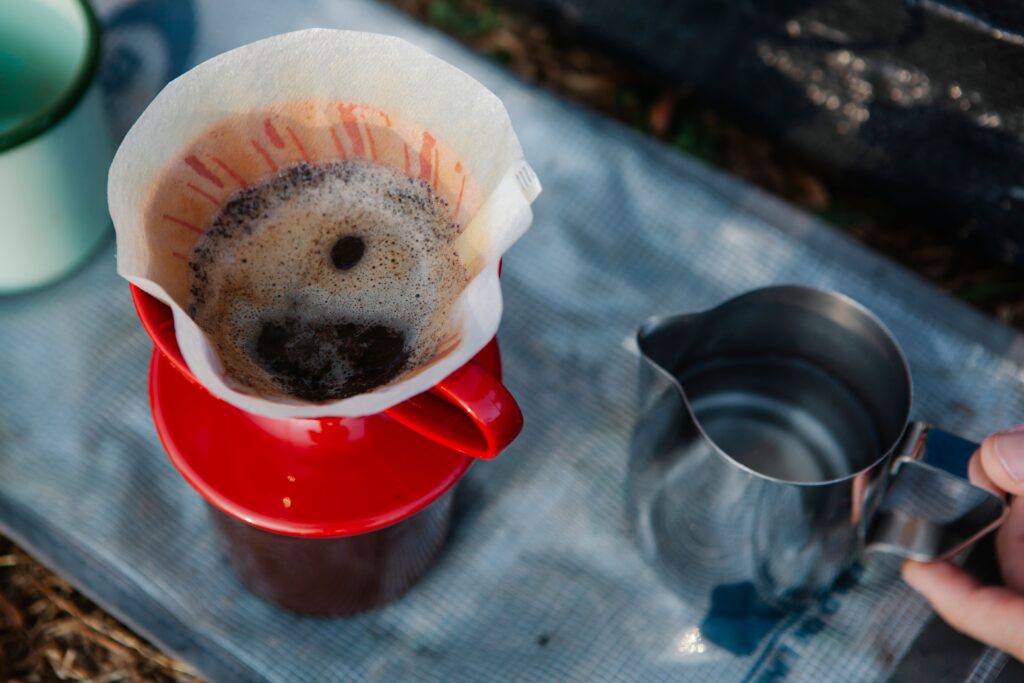
A cafetière can make lovely coffee, but glass is fragile, grounds are messy, and cleaning it properly outdoors is a pain. Pour-over can be brilliant, but wind, uneven ground, slow pouring and paper filters can turn it into a delicate little ceremony when you just want coffee. Moka pots are charming, but they are heavier, hotter, more awkward to clean and less forgiving if your stove is fierce.
The AeroPress sits in the sweet spot.
It gives you the control of a proper brew method, but with the practicality of camping gear.
1. AeroPress Is Small Enough To Actually Bring
The best camping coffee maker is the one you do not talk yourself out of packing.
An AeroPress is compact enough for a rucksack, dry bag, motorbike pannier, campervan drawer or family camping box. The AeroPress Go is especially useful for travel because it packs into its own mug and includes a filter holder for micro-filters.
That matters because camping space is precious.
When you are already packing sleeping bags, cooking gear, clothes, torches, water, food, chargers, waterproofs and half the house if you have kids, your coffee kit has to justify itself.
The AeroPress does.
It is not a kitchen appliance pretending to be portable. It is genuinely portable.
2. It Makes Proper Coffee Without Needing Perfect Conditions
Camping is not a controlled environment.
Your table wobbles. Your water temperature is a guess. Your stove is either too powerful or not powerful enough. Your hands are cold. Your toddler has wandered off with the spoon. Your dog is sniffing the food bag. The wind is trying to steal your filter paper.
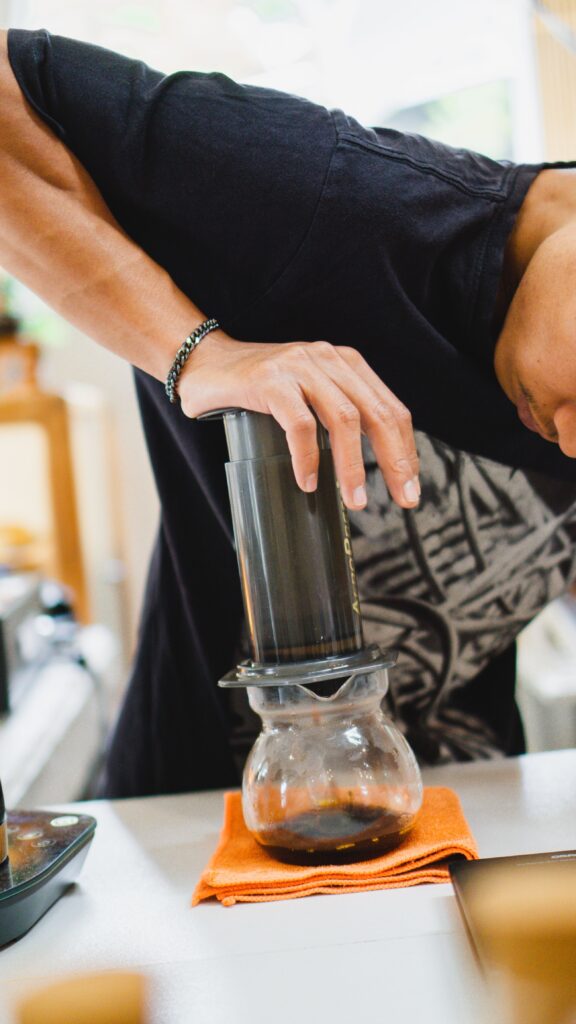
AeroPress is forgiving.
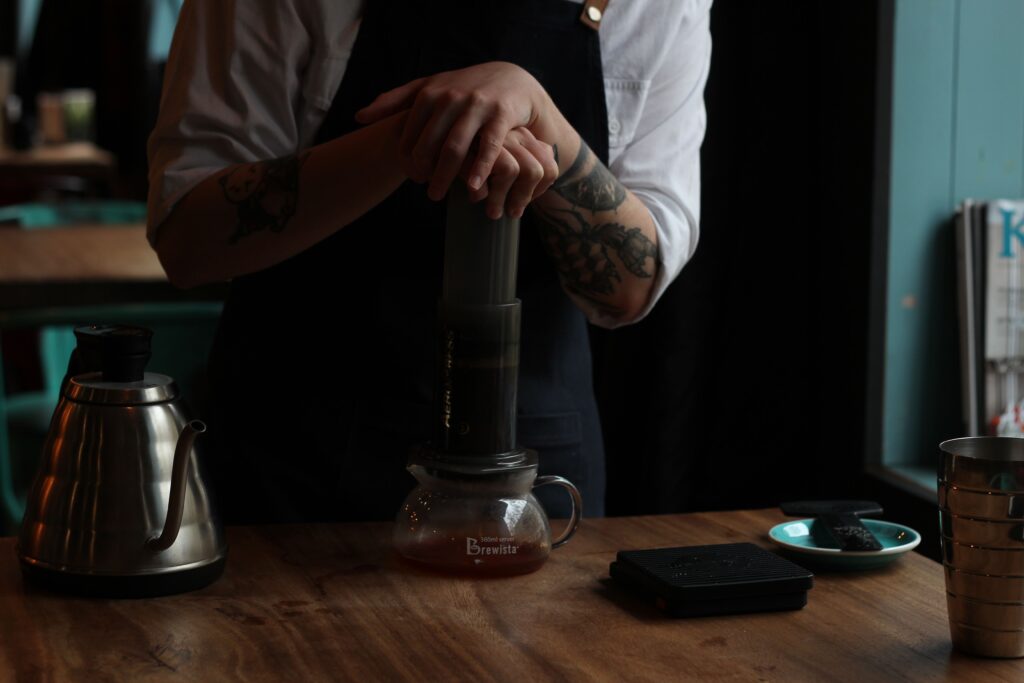
Because it uses immersion, pressure and filtration, it does not rely on a perfect slow pour like a V60. You add coffee, add water, stir, wait, press and drink. You can be precise if you want to be, but you do not have to be precious.
That is why it works so well outdoors.
You can make a clean, sweet, full-bodied cup with very little equipment. You can brew strong and dilute. You can brew short and intense. You can make a smooth black coffee, a concentrated base for milk, or an iced coffee if you have cold water and patience.
3. It Is Fast, Which Matters More Than People Admit
When you are camping, slow mornings are lovely.
Slow coffee clean-up is not.
The AeroPress Go is officially described as a brew-and-clean system that can be packed, brewed, cleaned and repacked quickly. In real camping terms, that means you can make coffee before a hike, before packing down, before the rain starts, or before everyone else wakes up and starts asking where breakfast is.
There is no long steep time unless you want one. No awkward glass jug. No pile of muddy grounds. No waiting around for a big pot to finish.
A good AeroPress camping routine can be as simple as:
Heat water.
Add coffee.
Pour.
Stir.
Wait one minute.
Press.
Pop the coffee puck into your waste bag.
Rinse.
Done.
That is exactly what a camping brew method should be.
4. Clean-Up Is Where AeroPress Beats Most Camping Coffee Makers
This is the real reason AeroPress is so good for camping.
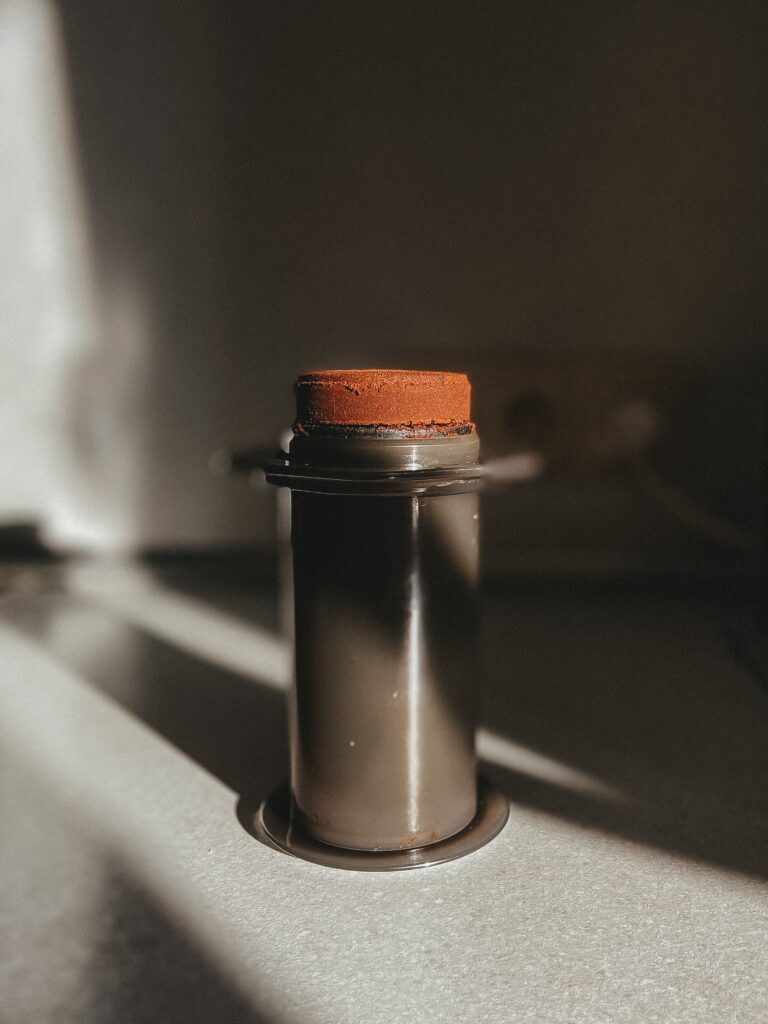
The used coffee compresses into a neat puck. You can pop it out, wipe the seal, give the chamber a quick rinse and carry on with your day.
Compare that with trying to clean a cafetière at a campsite sink, or scraping wet grounds from the bottom of a pot when you are trying not to block anything.
For responsible camping, you still need to deal with the waste properly. Do not scatter coffee grounds around the campsite and do not wash equipment directly in streams, rivers or lakes. Pack out your filter and grounds where required, and if you need to dispose of wastewater, do it well away from water sources in line with Leave No Trace guidance.
The AeroPress makes that easier because the waste is controlled.
That is a big win.
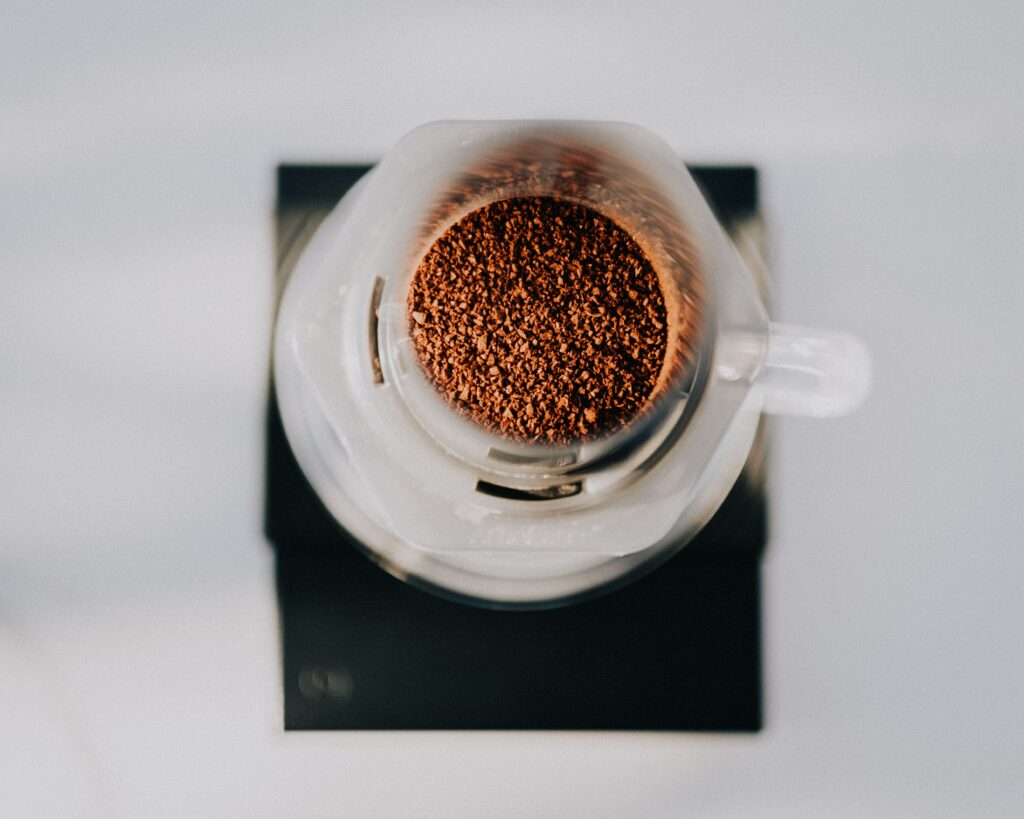
5. It Works With Whole Bean Or Pre-Ground Coffee

The best camping coffee setup is the one that matches the trip.
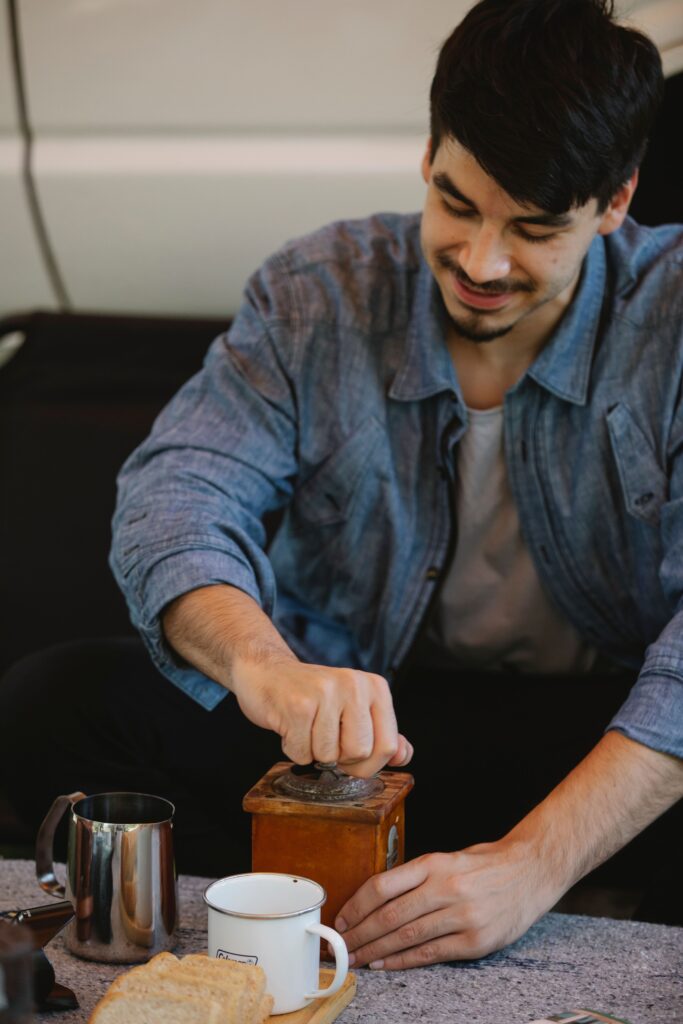
If you are going away in a campervan or car, take whole bean coffee and a hand grinder. Freshly ground coffee outdoors is hard to beat.
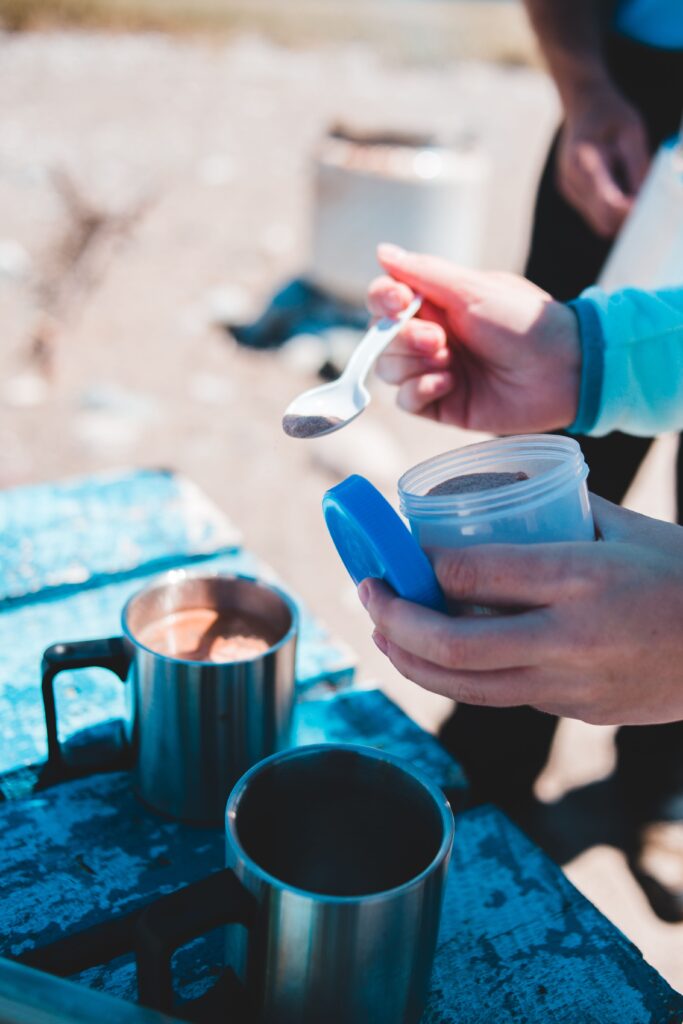
If you are hiking, bikepacking or travelling light, take pre-ground coffee. Portion it into small bags before you go so every brew is quick and consistent.
For AeroPress, a medium-fine grind usually works well. AeroPress also recommends medium-fine as a good starting point for the Original and XL.
At Hormozi Coffee, that means you can either take whole beans for the freshest possible campsite brew, or order your coffee ground for AeroPress so it is ready to use straight from the bag.
6. It Can Brew For One Person Or A Small Group

For solo camping, the AeroPress Original or AeroPress Go is ideal.
The Original can brew one 10 oz coffee, while the Go is a more compact 8 oz travel option. For most solo campers, that is exactly right.
For couples, family camping or campervan trips, the AeroPress XL makes more sense. It has a larger 20 oz capacity and is designed for 2 to 4 cups.
Another option is to brew a stronger concentrate with the Original, split it between two mugs, then top each mug up with hot water. That will not replace a big batch brewer for a large group, but for two people at camp, it works surprisingly well.
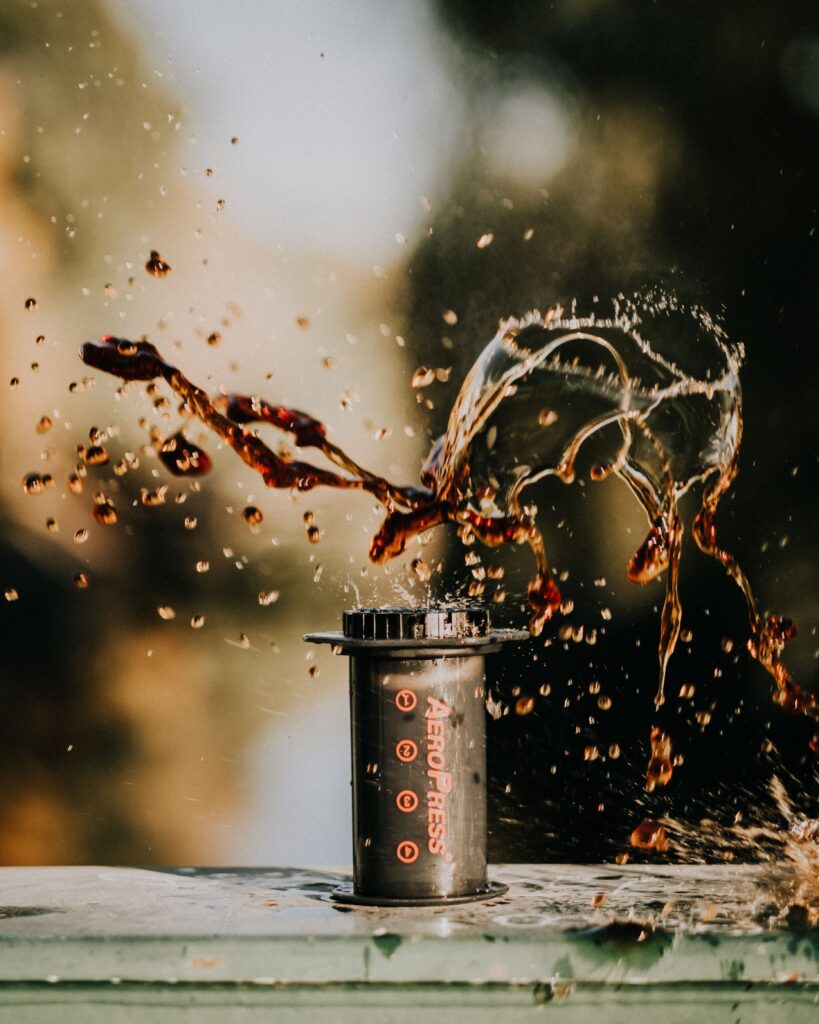
7. It Is Tough Enough For Real Trips
Camping kit gets abused.
It gets wet, dropped, packed badly, forgotten, overheated, frozen, stepped on and used in the dark.
AeroPress coffee makers are much more practical outdoors than fragile glass brewers. The AeroPress Go is specifically described as durable and shatterproof, and the XL includes a shatterproof Tritan carafe.
That makes a difference when you are not brewing in a nice clean kitchen.
You want kit that feels simple, sturdy and replaceable. Not delicate. Not precious. Not something you are scared to use.
The Best AeroPress Camping Brew Recipe
This is the simple campsite method I would recommend for most people.
Classic Campsite AeroPress
You need:
17g coffee
220ml hot water
1 AeroPress paper filter
A sturdy mug
A spoon or stirrer
An Aeropress
Method:
- Put a paper filter into the cap and rinse it if you have enough water.
- Add 17g medium-fine coffee to the AeroPress.
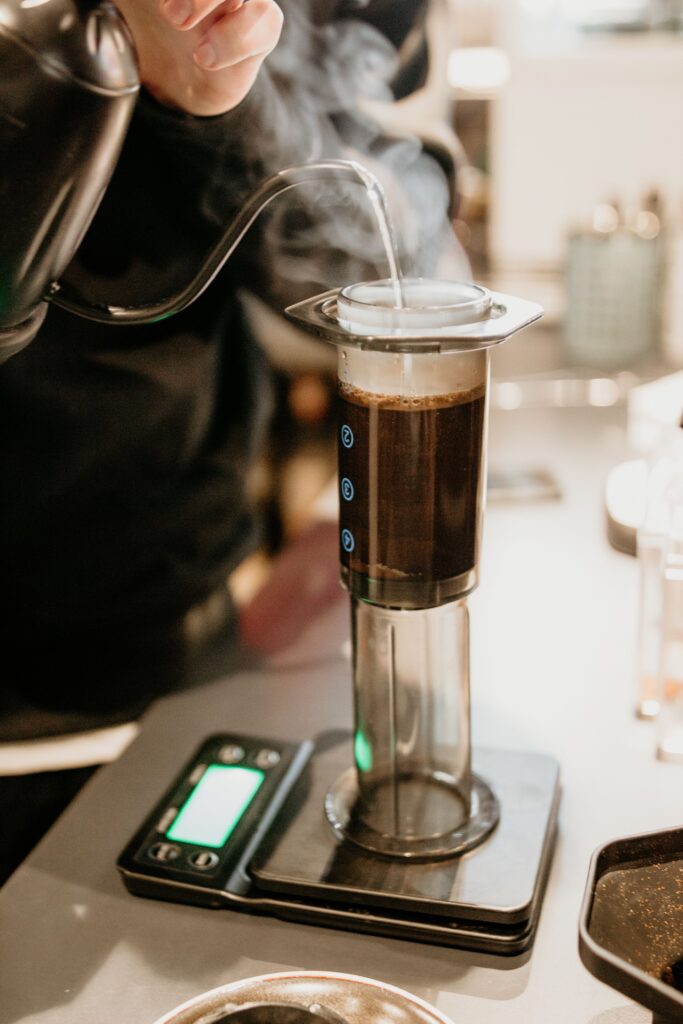
- Add hot water up to around 220ml.
- Stir for 5 to 10 seconds.
- Wait 60 seconds.
- Press slowly for 20 to 30 seconds.
- Drink as is, or top up with hot water for a longer black coffee.
This gives you a clean, sweet, full-bodied coffee without needing a complicated setup.
Strong Camp Mug
Use 18g coffee and 200ml water.
This is better if you like a richer cup, or if you are adding milk.
Two-Person Camp Coffee
Use 28g to 32g coffee and fill the chamber as much as is safe for your model.
Brew strong, press into a flask or jug, split between two mugs, then top each mug up with hot water.
For regular two-person brewing, the AeroPress XL is the better tool.
Cold AeroPress For Hot Weather Camping
Use 18g fine to medium-fine coffee.
Add room temperature water, stir well, steep for 2 to 3 minutes, then press over ice or cold water if you have it.
This is ideal for summer campsites, beach days, festivals and campervan trips.
Should You Use The Inverted AeroPress Method When Camping?
I would not recommend it outdoors.
The inverted method can work at home, but it is less stable. AeroPress itself warns that inverted brewing can be prone to mishaps and hot liquid burns.
That warning matters even more when you are camping.
Uneven table.
Wind.
Kids nearby.
Dogs nearby.
Limited space.
Hot water.
Tired hands.
Use the standard method instead. It is safer, cleaner and more practical outdoors.
The Best Coffee For AeroPress Camping
Camping coffee should be enjoyable, but it should also be forgiving.
You want coffee that still tastes good if your water is not perfect, your grind is not perfect, or your brew time slips because someone needs help with a tent peg.
Here are the best Hormozi Coffee options to recommend.
Brazil Santos
Smooth, balanced and easy to drink.
Best for: relaxed campsite mornings, family camping, milk drinkers, people who want low fuss coffee.
New World Blend
A great all-rounder with enough body for AeroPress.
Best for: everyday camping, campervans, strong black coffee, milk-based camp drinks.
Trial By Fire Blend
Bold, characterful and memorable.
Best for: proper adventure trips, motorbike camping, early starts, strong coffee drinkers.
Colombia Supremo
Clean, sweet and versatile.
Best for: black coffee drinkers who want something smooth but more interesting than a basic blend.
Kenya Peaberry
Brighter, fruitier and more vibrant.
Best for: coffee lovers, filter drinkers, warm weather camping, people who want a livelier cup.
Sugar Cane Decaf
A proper camping coffee option for evenings.
Best for: late-night campsite drinks, family trips, campervan holidays and anyone who wants the ritual without the caffeine.
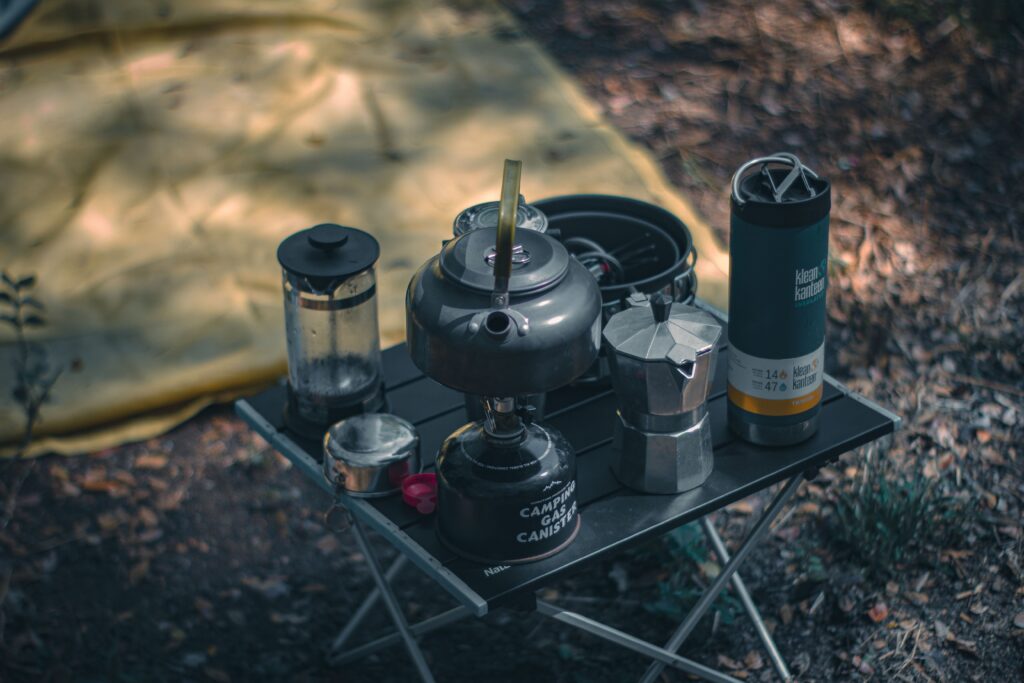
Complete AeroPress Camping Setups

This is where most camping coffee guides are too vague.
“Take an AeroPress” is not enough. The real question is: what exactly should you pack?
Here are the best setups depending on how you camp.
Setup 1: The Minimal Day Hike Coffee Kit
Best for: walks, picnics, beach days, forest stops and quick outdoor brews.
Pack this:
AeroPress Go or AeroPress Original
Pre-ground coffee portioned into 17g servings
A few paper filters in a small dry bag
Lightweight mug
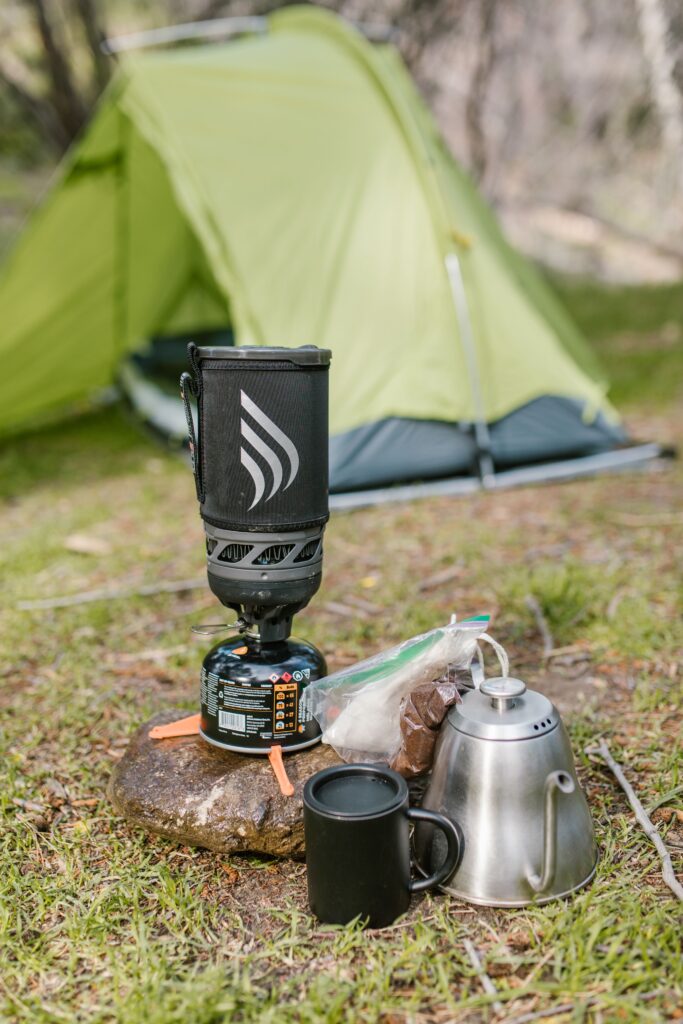
Small camping stove or flask of hot water
Spoon or stirrer
Small waste bag for used grounds and filters
Recommended coffee: Brazil Santos or Colombia Supremo.
This is the simplest proper outdoor coffee setup. No grinder, no scales, no fuss. Just hot water, coffee and a few minutes.
Setup 2: The Solo Wild Camping Setup
Best for: one-night camps, hiking, lightweight camping and minimalist trips.
Pack this:
AeroPress Go
Pre-ground coffee or small hand grinder
Paper filters
Lightweight mug
Small camping stove
Small gas canister
Lightweight kettle or cook pot
Microfibre cloth
Waste bag
Water bottle or filter bottle
Recommended coffee: New World Blend.
This setup is light, compact and reliable. If weight matters, take pre-ground coffee. If flavour matters more than weight, take whole beans and a small hand grinder.
Setup 3: The Motorbike Or Bikepacking Coffee Setup
Best for: TET rides, motorcycle touring, bikepacking, overnighters and adventure trips.
Pack this:
AeroPress Go
Hand grinder or pre-ground coffee
Paper filters in waterproof pouch
Small camping stove
Small cook pot or kettle
Insulated travel mug
Dry bag for coffee
Small brush or cloth
Zip bag for used grounds
Recommended coffee: Trial By Fire Blend.
For motorbike and bikepacking trips, your kit needs to be compact, tough and quick to use. The AeroPress Go is ideal because the mug doubles as storage, which means fewer loose parts rolling around in your luggage.
Setup 4: The Family Campsite Setup
Best for: car camping, family campsites, longer weekends and holidays.
Pack this:
AeroPress Original or AeroPress XL
250g bag of coffee
Hand grinder or pre-ground coffee
Digital scales
Camping kettle
Small camping stove
Insulated travel mugs
Milk or oat milk
Hot chocolate for the kids
Tea bags for non-coffee drinkers
Food-safe storage box
Washing-up bowl
Waste bag
Recommended coffee: Brazil Santos, New World Blend and Sugar Cane Decaf.
This setup is not about being ultralight. It is about making camp life easier. Keep everything in one box so your coffee kit is always ready to go.
Setup 5: The Campervan Or Glamping Setup
Best for: campervans, cabins, glamping pods and comfortable campsites.
Pack this:
AeroPress XL
Whole bean coffee
Hand grinder
Digital scales
Gooseneck kettle
Insulated travel mugs
Airtight coffee storage
Milk frother if you want campsite lattes
Cleaning cloth
Small bin bag or compost caddy where appropriate
Recommended coffee: Colombia Supremo, Kenya Peaberry or New World Blend.
This is the setup for people who want outdoor coffee without compromising too much. You have more space, so take better kit.
Setup 6: The Group Camping Setup
Best for: groups, festivals, big family trips and mornings where everyone wants coffee at once.
Pack this:
AeroPress XL or two AeroPress Originals
Large flask
Pre-ground coffee
Plenty of filters
Scales or scoop
Large kettle
Several mugs
Milk
Sugar
Waste bag
Spare cloth
Recommended coffee: New World Blend or Brazil Santos.
For groups, the trick is to brew strong and batch intelligently. Make a concentrated brew, press into a flask, then dilute to taste. This is much faster than trying to make six separate delicate coffees while everyone is waiting.
Paper Filter Or Metal Filter For Camping?
Both work.
Paper filters are light, cheap and give a clean cup with very little sediment. They are also easy to pack flat.
Metal filters are reusable, which is useful if you camp often or do not want to worry about running out of papers. They usually give a slightly heavier cup with more body.
For most campers, paper filters are the easiest option. Just remember to pack them out with your used grounds where required.
Click here to order paper filter now.
Or click here to order metal filters now!
Whole Bean Or Ground Coffee For Camping?

Whole bean tastes best, but ground coffee is easier.
For car camping, campervans and relaxed trips, take whole beans and a grinder.
For hiking, motorbike touring, festivals and quick weekends, take pre-ground coffee.
The best middle ground is to grind fresh at home just before you leave, then pack your coffee in an airtight pouch. You get better flavour than supermarket pre-ground coffee, but without carrying a grinder.
Click here to order a small hand grinder now!
How To Pack Coffee For Camping
Do not take a big open bag if you do not need it.
For short trips, portion your coffee before you leave.
Use:
17g per standard AeroPress brew
18g for a stronger mug
28g to 32g for a two-person concentrate
Airtight bags or small tubs
One extra portion per day, because someone will always want another cup
Keep coffee dry, sealed and away from strong smells. Coffee absorbs odours easily, and nobody wants a cup that tastes faintly of gas canister, wet socks or onions.
AeroPress Camping Clean-Up Routine
Here is the cleanest way to do it.
- Press your coffee.
- Remove the cap.
- Push the coffee puck into your waste bag.
- Wipe the end of the plunger.
- Rinse the chamber with a small amount of water.
- Dry with a cloth.
- Pack everything away.
If you are away from facilities, follow responsible outdoor practice. Do not dump coffee waste by the tent, and do not wash directly in natural water sources. Carry wash water away from streams, lakes and rivers, then scatter strained wastewater responsibly.
AeroPress Vs Cafetière For Camping
A cafetière makes a nice cup, but AeroPress is usually better for camping.
AeroPress is lighter.
AeroPress is tougher.
AeroPress is easier to clean.
AeroPress leaves less sludge.
AeroPress gives you more control.
AeroPress is easier to pack.
AeroPress is less annoying when water is limited.
A cafetière is fine for a campervan or a campsite kitchen.
For actual camping, AeroPress wins.
AeroPress Vs Pour-Over For Camping
Pour-over coffee can be excellent, but it needs more care.
You need a stable surface, a controlled pour, decent wind protection and more patience. That is fine if you enjoy the ritual. It is less ideal when it is raining, windy or cold.
AeroPress gives you a more reliable result with less technique.
If you want calm, slow coffee, take a pour-over.
If you want great coffee with fewer variables, take an AeroPress.
AeroPress Vs Instant Coffee For Camping
Instant coffee wins on convenience.
AeroPress wins on everything else.
The flavour is better, the body is better, the aroma is better, and the whole experience feels more like a proper morning ritual.
If coffee is just caffeine to you, instant is fine.
If coffee is part of the reason you enjoy the morning, pack the AeroPress.
Best AeroPress Camping Tips
Pre-portion your coffee before you leave.
Take more filters than you think you need.
Always pack a waste bag.
Use a sturdy mug, not thin glass.
Avoid the inverted method outdoors.
Grind slightly finer if your coffee tastes weak.
Grind slightly coarser if it tastes harsh or bitter.
Use bottled or filtered water if the campsite water tastes poor.
Take decaf for evening camping.
Keep your coffee kit in one dedicated box or dry bag.
Quick Troubleshooting
Coffee tastes sour:
Use slightly hotter water, grind finer, stir more, or steep longer.
Coffee tastes bitter:
Use slightly cooler water, grind coarser, steep for less time, or press more gently.
Coffee tastes weak:
Use more coffee, less water, or brew stronger and dilute after.
Coffee has grit:
Check the filter is sitting properly in the cap and avoid pressing too aggressively.
Coffee is messy to clean:
Press fully, pop the puck straight into a waste bag, then rinse immediately.
Camping Coffee Setup Checklist
AeroPress
Coffee
Filters
Mug
Kettle or cook pot
Stove
Gas or fuel
Spoon or stirrer
Scales or scoop
Water
Milk or alternative milk
Waste bag
Cloth
Dry bag or storage box
Decaf for evenings
Hot chocolate for kids or non-coffee drinkers
Recommended Hormozi Camping Coffee Bundle
For a strong product section, build this as a ready-made bundle:
The Hormozi AeroPress Camping Coffee Kit
Includes:
AeroPress Original or AeroPress Go
1 x 250g Brazil Santos OR
1 x 250g New World Blend OR
1 x 250g Trial By Fire Blend
AeroPress paper filters
Optional hand grinder
Optional Sugar Cane Decaf
Optional hot chocolate
Positioning copy:
Everything you need for proper coffee outdoors. Smooth morning brews, strong adventure coffee and an evening decaf option, packed around the most practical camping coffee maker available.
FAQ
Is AeroPress good for camping?
Yes. AeroPress is excellent for camping because it is compact, lightweight, durable, quick to use and easy to clean. It makes proper coffee without needing electricity, a fragile glass brewer or a complicated pour-over setup.
Which AeroPress is best for camping?
For solo trips, the AeroPress Go is the most compact option. For general use, the AeroPress Original is a great all-rounder. For couples, family camping or campervans, AeroPress XL is better because it has more capacity.
Can you use pre-ground coffee in an AeroPress?
Yes. Pre-ground coffee works well, especially for camping. For best results, use coffee ground medium-fine for AeroPress.
How much coffee should I use for AeroPress camping?
Start with 17g coffee and around 220ml water. Use 18g if you want a stronger cup, or brew a concentrate and dilute with hot water.
Is AeroPress better than a cafetière for camping?
For most camping trips, yes. AeroPress is easier to clean, more compact, tougher and leaves less mess than a cafetière.
Can I make cold coffee with AeroPress while camping?
Yes. Use a slightly finer grind, stir well, steep with cool water, then press over cold water or ice if you have it.
What coffee should I take camping?
Smooth, versatile coffees work best. Brazil Santos, New World Blend and Colombia Supremo are great all-rounders. Trial By Fire is better if you want something stronger, and Sugar Cane Decaf is ideal for evenings.
Ready To Upgrade Your Camping Coffee?
Bad camping coffee is optional.
With an AeroPress, a good bag of coffee and a simple brew kit, you can make a proper cup almost anywhere: beside the tent, next to the van, halfway through a hike, outside a cabin, at a festival or on the tailgate before a long drive home.
Pack light. Brew well. Leave no mess behind.
Shop AeroPress coffee, camping brew gear and freshly roasted Hormozi Coffee before your next trip.