When we think of third-wave coffee, one of the images that come to mind is the vacuum coffee pot. Resembling retro lab equipment from the set of a steampunk movie, it is the definition of cool. However, its appearance also has drawbacks – namely, people are easily intimidated by it. The fact that the vacuum pot’s complicated brewing process doesn’t help its case either.
Of course, like with everything else coffee-related, we need to examine this method closely. Our mission here is to demystify this brewing method and explain clearly how it works. This way, you can even start vacuum brewing at home. So be sure to keep reading.
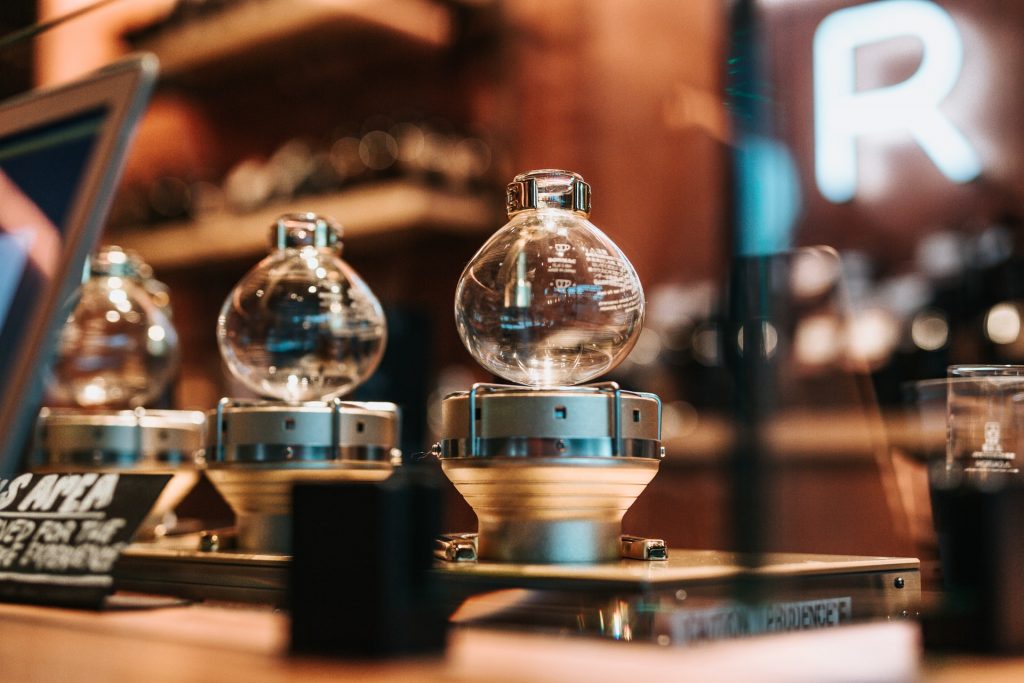
Invented in the 1840s, it would be hard to believe that this seemingly complicated piece of brewing machinery was the most popular way to make coffee before the arrival of the Chemex, but it’s true. Aside from looking incredibly cool, the vacuum pot is able to produce coffee that can only be characterized as subtle and delicate.
The siphon coffee brewer adheres closely to the principle of expansion and contraction of gases — water vapor in this case. This chemical process is crucial to the device’s brewing method as it is ultimately responsible for the infusion of coffee into your cup. In the end, you get a smooth-tasting kick of caffeine.
The brewer itself is made up of four important components:
- Bottom Globe – This is where the brewing water initially rests. It is also your coffee’s final destination.
- Siphon Chamber – This is the brewer’s top vessel. The first thing you’ll notice is that it has a siphon-tube attached to it. This is where the actual brewing process takes place.
- Gasket – This helps create the partial vacuum in the bottom globe as the brewing gets underway in the siphon chamber.
- Filter – The filter separates your coffee grounds from the water.
As a general rule, you need to ensure that your equipment is completely clean. You wouldn’t want any impurities to get in the way. Additionally, try to brew with freshly ground coffee that is slightly finer than drip coffee. We are also working with a ratio of 7g of coffee per 100ml, remember that precision is crucial to any good cup of coffee.
That said, let’s start brewing:
- Add Water to the Bottom Globe – Be mindful of your coffee-water ratio and use a measuring cup
- Apply Heat to Bottom Globe– Turn on your heat source and let the water come to a boil
- Assemble the Top Section – Make sure to attach the filter securely to the siphon chamber before inserting the siphon tube into the bottom globe. Then, ensure that the gasket is sealed. Once a vacuum environment is established, add your coffee.
- Wait for the Water Transfer – Wait for the water to travel from the bottom globe to the siphon chamber. Give it a stir to ensure that the grounds are fully immersed.
- Time the Immersion – Let the coffee brew for one minute and thirty seconds before removing heat source and giving your coffee a final stir.
Once this is done and as the liquids change into gas, a vacuum in the lower chamber is inevitably created. This will then draw the brewed coffee back from the siphon chamber through the filter and into the lower chamber.

From there, it is simply a matter of removing the siphon chamber and pouring the freshly brewed coffee into a cup. Clearly, despite its intimidating exterior, using a vacuum brewer isn’t all that complicated. So, be sure to give it a try.